New Gear Alert: Cloud 44 Passive Ribbon Mic, MyFOH by Waves, NUGEN Audio’s Halo Vision & More
April 22nd, 2022 by Dan Gluszak
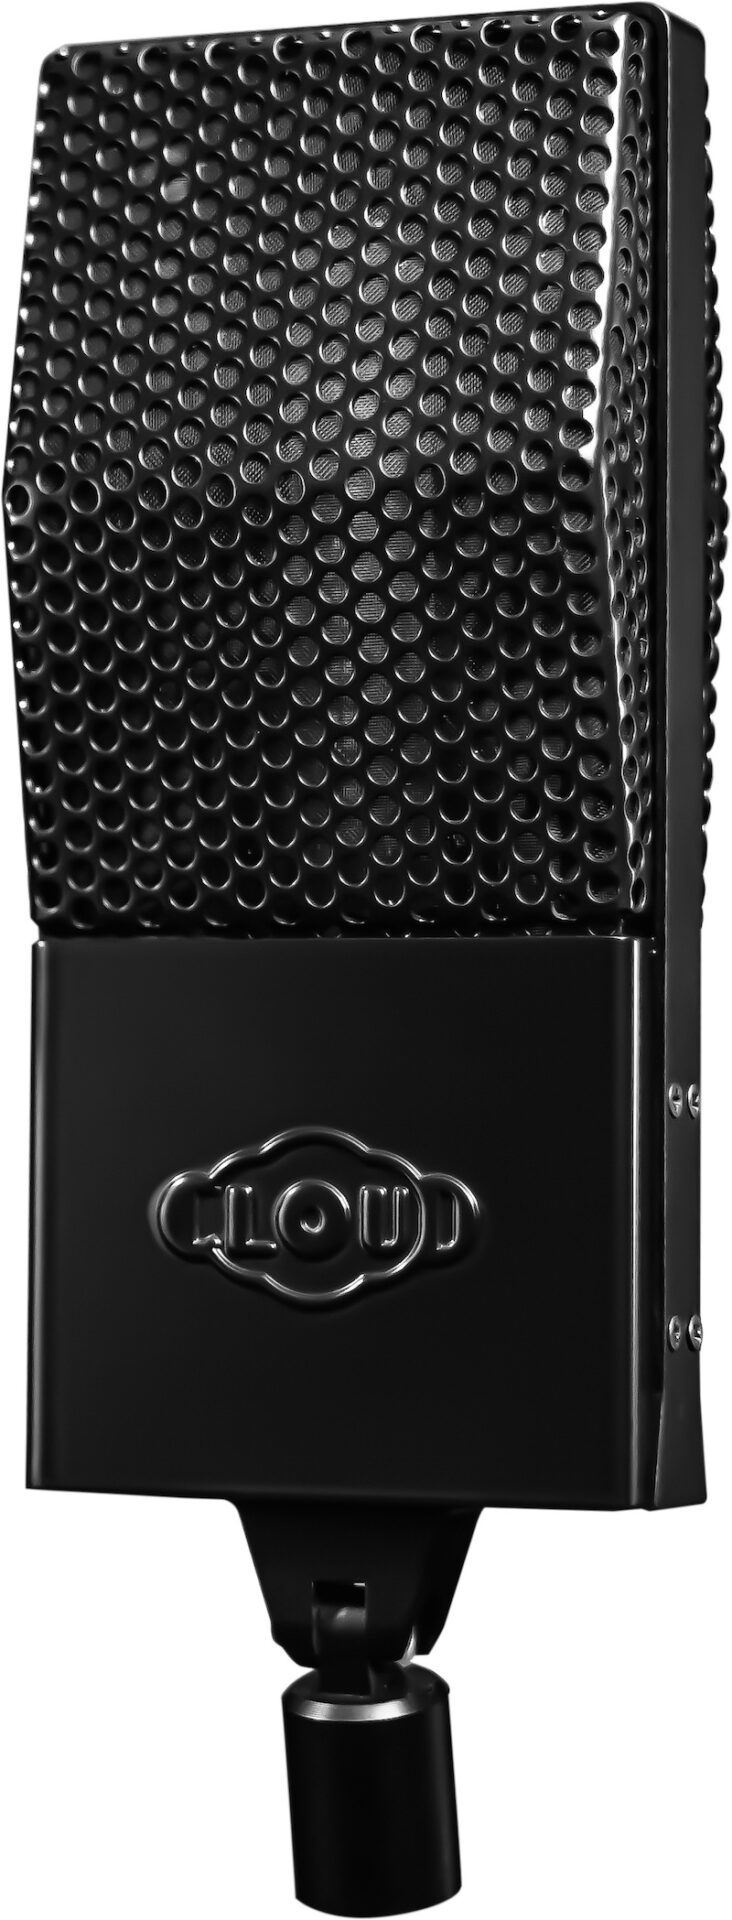
Introducing the Cloud 44 passive ribbon mic.
Cloud expands their microphone line with a new passive version of their popular model 44-A, resurrecting the sound and spirit of the iconic RCA Type 44 ribbon mic. The ribbon motor design remains true to the original 44, handcrafted to the exact specifications Read more...